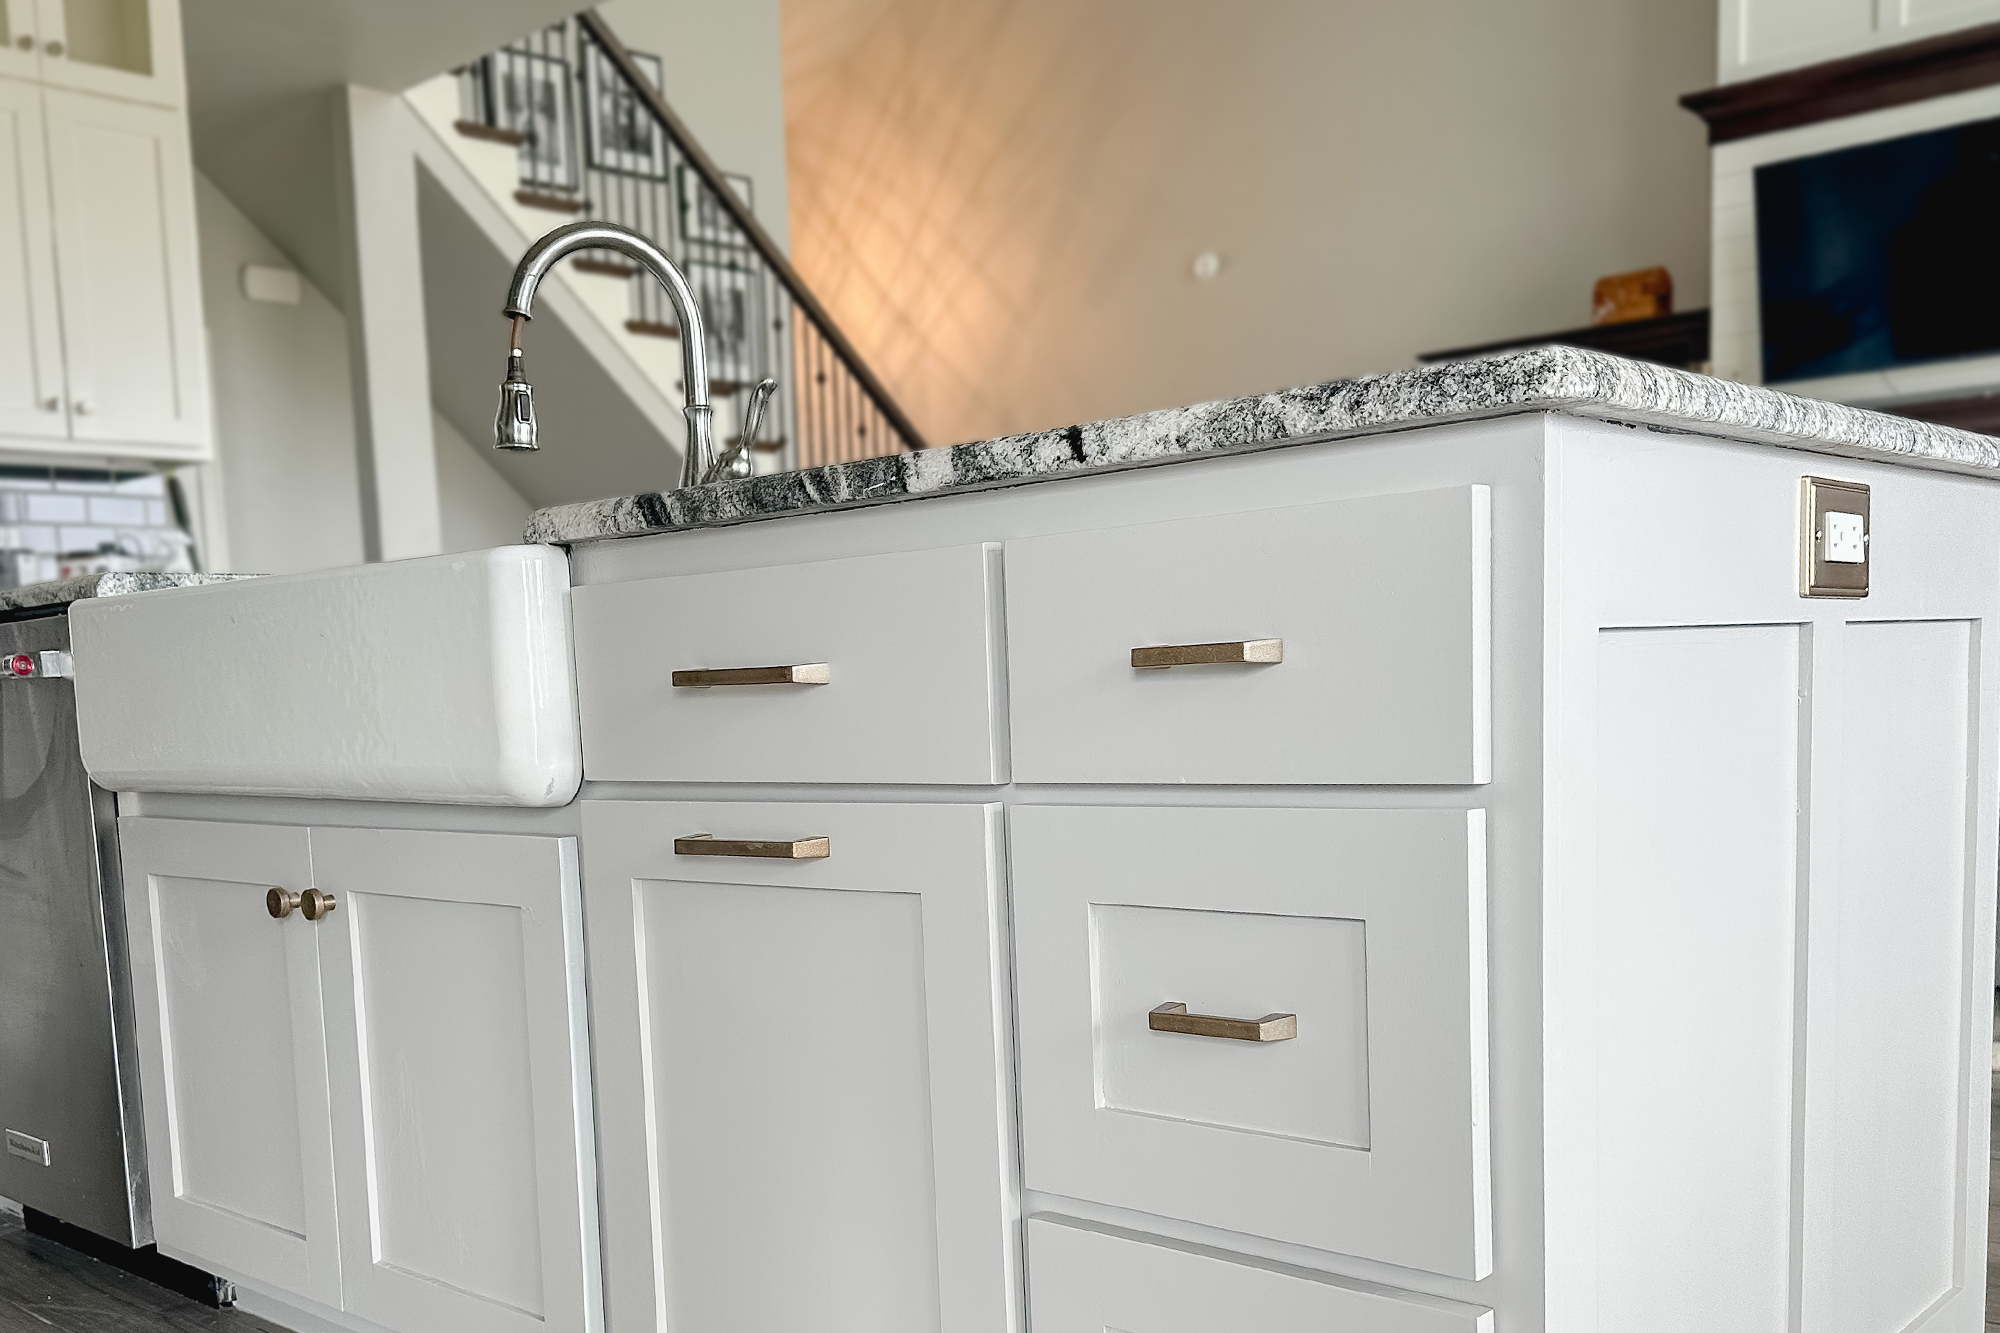
Clean, sand, prime, and paint cabinets with durable enamel for lasting results.
If you want a factory-smooth finish that holds up to daily use, you are in the right place. I have helped many homeowners learn how to repaint kitchen cabinets on tight budgets and tight timelines. In this guide, I share the exact steps, pro tips, and real-world lessons so you can avoid mistakes and get a clean, strong finish the first time.

Tools and Materials You’ll Need
Gather all tools before you start. It keeps the job smooth and stress-free.
- Screwdriver set and labeled bags for hinges and screws
- Painter’s tape, masking paper, and plastic sheeting
- Degreaser or TSP substitute and clean rags
- Sandpaper in 120, 180, and 220 grits; sanding block or random-orbit sander
- Wood filler, putty knife, and caulk for tiny gaps
- High-adhesion bonding primer, stain-blocking if needed
- Cabinet-grade paint: acrylic alkyd or enamel for durability
- Quality brushes (angled sash, fine bristle) and high-density foam rollers
- Tack cloths and microfiber cloths
- Optional sprayer with fine-finish tip and strainer
- Painter’s pyramids or stands for drying
- Safety gear: mask, gloves, and eye protection
Choosing the right products is half the win when learning how to repaint kitchen cabinets. Aim for products that are made for trim and cabinets, not walls.
Plan Your Project and Choose the Right Finish
Think through the whole job before you pop a lid. Your plan sets the tone for success.
- Pick the sheen. Satin hides flaws and is easy to clean. Semi-gloss is bright and tough but shows more marks.
- Pick the type. Water-based acrylic alkyds level well and cure hard with low odor. Oil-based levels well but has more odor and longer dry time.
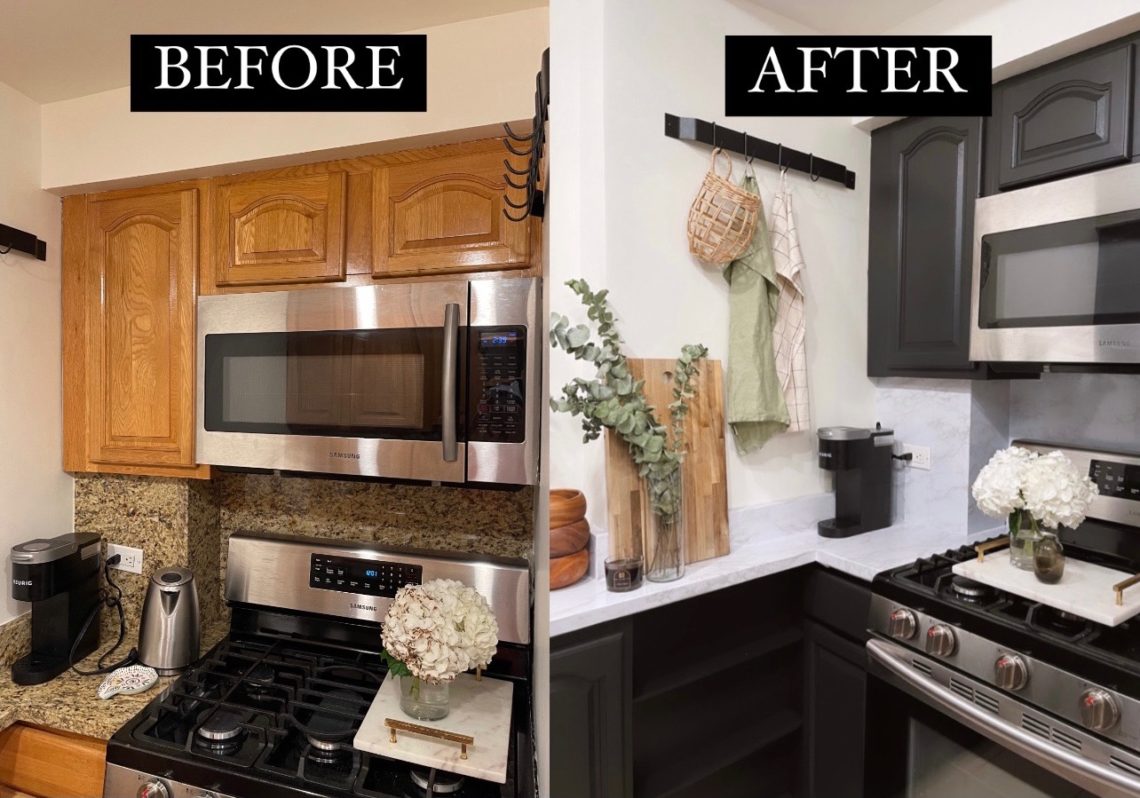
- Choose a color that works with your counters, floors, and light. Light colors open the room. Dark colors add depth but show dust.
- Do a test board. Prime and paint a scrap door or wood sample to test color, sheen, and texture.
- Check your schedule. Set aside 3 to 5 full days for most kitchens.
This planning step is key if you want a stress-free path for how to repaint kitchen cabinets like a pro.
Safety and Prep Essentials
Good prep and safe work habits protect your home and your health.
- Ventilate the space. Use fans and open windows. Wear a mask rated for dust and paint fumes.
- Check for lead on homes built before 1978. Follow lead-safe work rules if needed. Use a test kit and avoid dry sanding lead paint.
- Clean first. Kitchens collect grease and smoke film. Degrease all parts before you sand.
- Protect the room. Tape off walls and floors. Cover appliances and counters.
- Control dust. Use a vacuum with a HEPA filter while you sand.
Safe prep makes every later step easier in how to repaint kitchen cabinets. It also improves adhesion and final gloss.
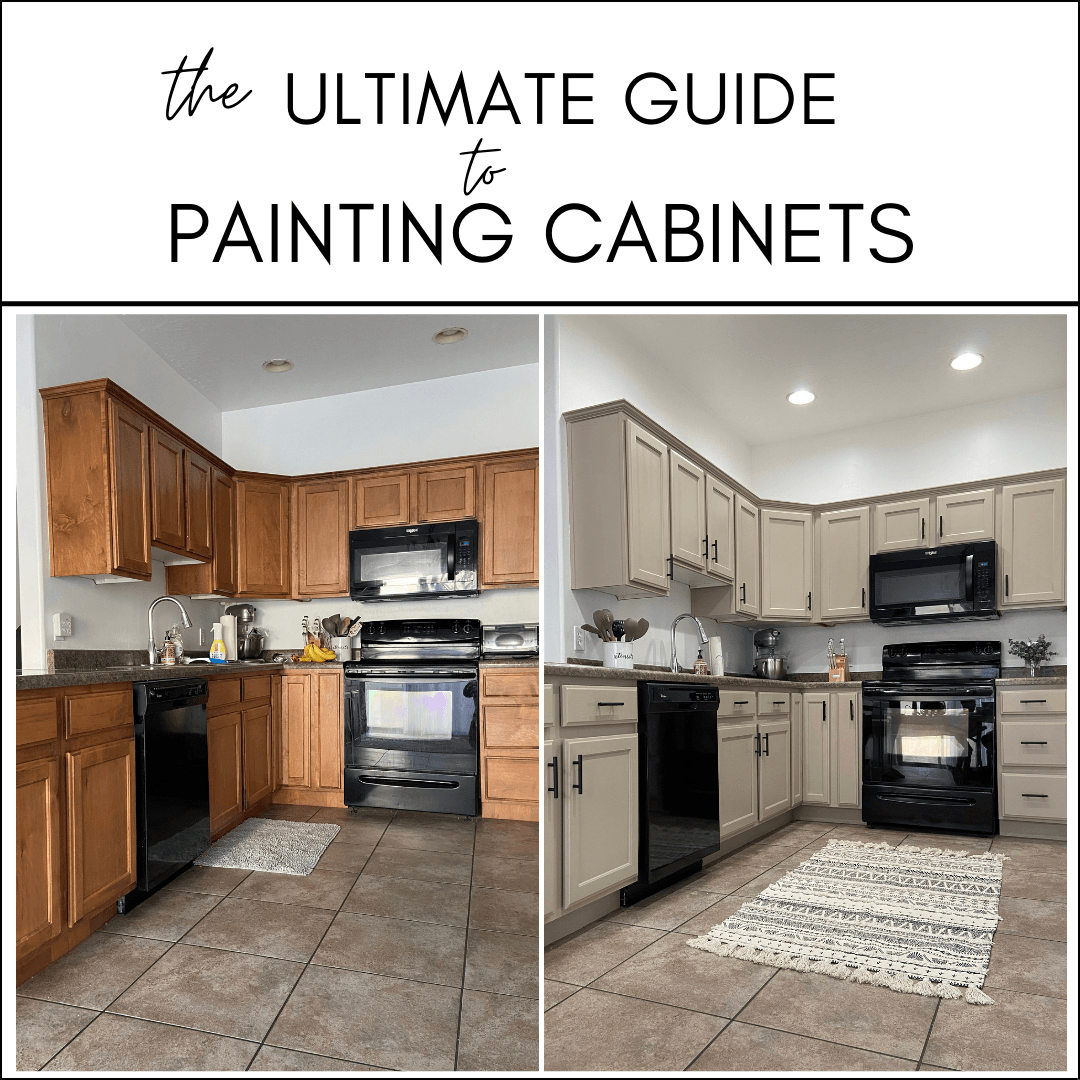
Step-by-Step: How to Repaint Kitchen Cabinets
Follow these steps in order. Small things done well add up to a great finish.
Step 1: Remove doors, drawers, and hardware
- Label every door and drawer with tape. Note its position.
- Bag screws and hinges by cabinet. Keep them with the matching door.
Step 2: Clean and degrease
- Wash all surfaces with a TSP substitute or degreaser.
- Rinse with clean water. Let dry. Do not skip this step.
Step 3: Scuff sand
- Sand doors, frames, and drawer fronts with 120–150 grit.
- Aim for a dull, even surface. Wipe dust with a tack cloth.
Step 4: Repair and fill
- Fill dings, old hardware holes, and chips with wood filler.
- Let it dry. Sand smooth with 180–220 grit.
Step 5: Prime for adhesion
- Use a bonding primer made for slick surfaces.
- Brush tight areas. Roll large flats with a high-density foam roller.
- Let dry per the label. Usually 4–6 hours for water-based.
Step 6: Caulk tiny gaps
- Caulk hairline seams where rails meet stiles.
- Smooth with a damp finger. Let it set.
Step 7: Sand the primer
- Lightly sand with 220 grit to knock down nibs.
- Wipe off dust. A smooth base makes a smooth topcoat.
Step 8: Apply the first color coat
- Use cabinet-grade enamel or acrylic alkyd.
- Keep a wet edge. Work from top to bottom.
- Brush details first, then roll flats. Do not overwork.
Step 9: Light sand between coats
- After dry, scuff with 320 grit or a fine pad.
- Wipe clean. This helps the final coat level.
Step 10: Apply the final coat
- Lay on an even coat. Do not press hard.
- Check edges and drips. Fix at once while wet.
Step 11: Let it cure and reassemble
- Dry to the touch is not full cure. Allow 7–14 days for normal use.
- Reinstall doors and drawers after 24–72 hours, based on product and climate.
- Adjust hinges and add bumpers for soft closes.
From my field work, the big wins in how to repaint kitchen cabinets are clean prep, a good bonding primer, and thin, even coats. Rushing dry times is the main way good work goes bad.
Common Mistakes and How to Avoid Them
- Skipping the clean. Grease blocks paint. Always degrease before sanding or priming.
- Using wall paint. Cabinet surfaces need enamel or acrylic alkyd, not regular latex wall paint.
- Heavy coats. Thick coats sag and take longer to cure. Two thin coats beat one thick one.
- Poor sanding. Glossy stock needs a scuff for bite. No shine should remain.
- Rushing reassembly. Dry is not cured. Give doors time to harden or they will stick.
Keep these in mind if you want the best path on how to repaint kitchen cabinets without do-overs.
Drying, Curing, and Reassembly Best Practices
Dry time and cure time are not the same. Dry time is hours. Cure time is days to weeks.
- Mind the climate. Paint cures faster at 70°F and 40–60% humidity.
- Use racks or painter’s pyramids to keep edges clean while drying.
- Handle with clean cotton gloves to avoid skin oils on fresh paint.
- Add felt or rubber bumpers to reduce door stick and protect corners.
Paint makers note that full cure can take 7–30 days. Plan your kitchen use with that in mind when learning how to repaint kitchen cabinets.

Cost, Time, and ROI
DIY can save a lot and still look high end.
- Paint and primer: 80–200 dollars for most kitchens, more for premium lines.
- Tools and sundries: 50–200 dollars, depending on what you own now.
- Time: 20–35 hours across 3–5 days for a typical 10–20 door kitchen.
- Pro results at home: Expect a big boost in look and resale appeal.
If budget is tight, how to repaint kitchen cabinets is one of the best returns in home updates. It refreshes the room without the cost of new boxes.
Maintenance and Touch-Ups
Good care keeps the finish fresh for years.
- Clean with mild soap and water. Avoid harsh pads and strong chemicals.
- Wipe spills fast. Water at seams can swell wood and spoil edges.
- Keep a small jar of your paint for quick touch-ups.
- Add door bumpers or soft-close hardware to reduce wear points.
Make a short seasonal check part of your plan for how to repaint kitchen cabinets. Small fixes now stop big issues later.
Frequently Asked Questions of how to repaint kitchen cabinets
Do I need to sand before painting cabinets?
Yes, a light scuff sand removes gloss and helps primer stick. It also levels small flaws for a smoother topcoat.
What is the best paint for kitchen cabinets?
Use cabinet-grade enamel or water-based acrylic alkyd. These cure hard, resist stains, and clean well.
Can I paint over laminate cabinets?
Yes, if you use a high-bond primer and scuff the surface first. Test a small spot to check adhesion before painting all doors.
How long should I wait between coats?
Follow the label, but 6–16 hours is common for water-based enamels. Sand lightly between coats for the best finish.
Is spraying better than brushing and rolling?
Spraying gives the smoothest look but needs more prep and gear. A fine brush and foam roller can also produce near-spray results.
How long before I can use my kitchen again?
You can rehang doors in 24–72 hours depending on the product and climate. Full cure can take 7–30 days, so be gentle at first.
What primer should I use for stained or oak cabinets?
A stain-blocking, high-adhesion primer works best. It seals tannins and gives your paint a strong base to grip.
Conclusion
Repainting cabinets is a clear, step-by-step process: clean, sand, prime, and apply two thin enamel coats with care. Give each layer time, keep dust down, and handle parts gently as they cure. With these habits, you can master how to repaint kitchen cabinets and get a finish that looks custom and lasts.
Ready to start? Pick a door, run a full test from primer to topcoat, and lock in your process before you tackle the whole set. Share your results, ask questions, or subscribe for more guides and field-tested tips.