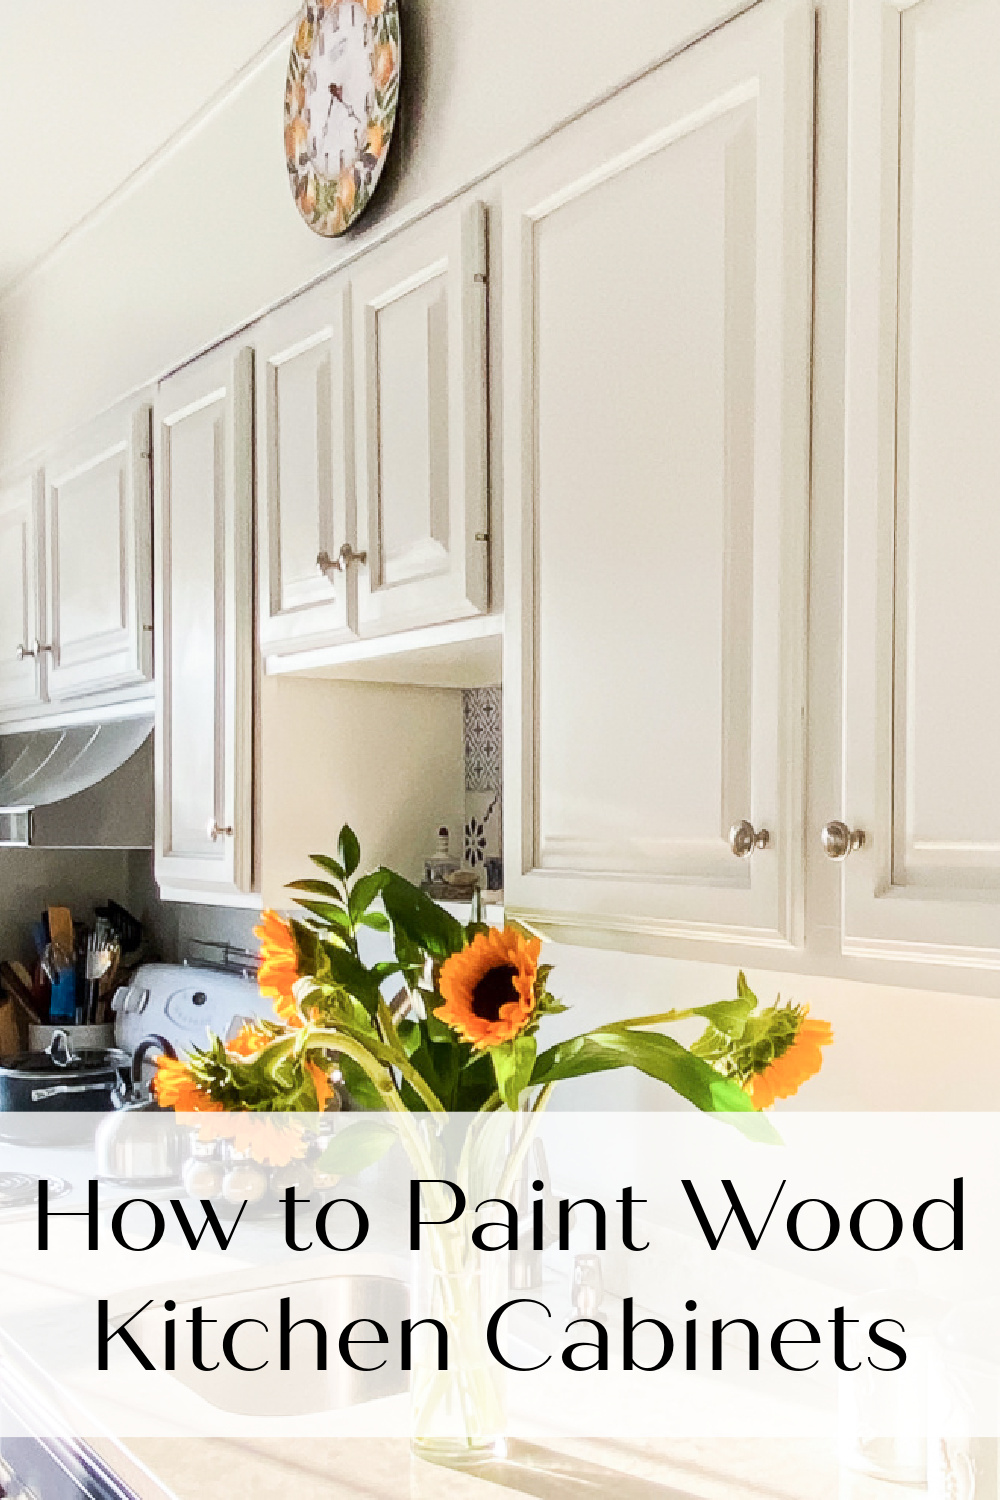
Clean, sand, prime, then paint with a durable enamel for smooth, lasting cabinets.
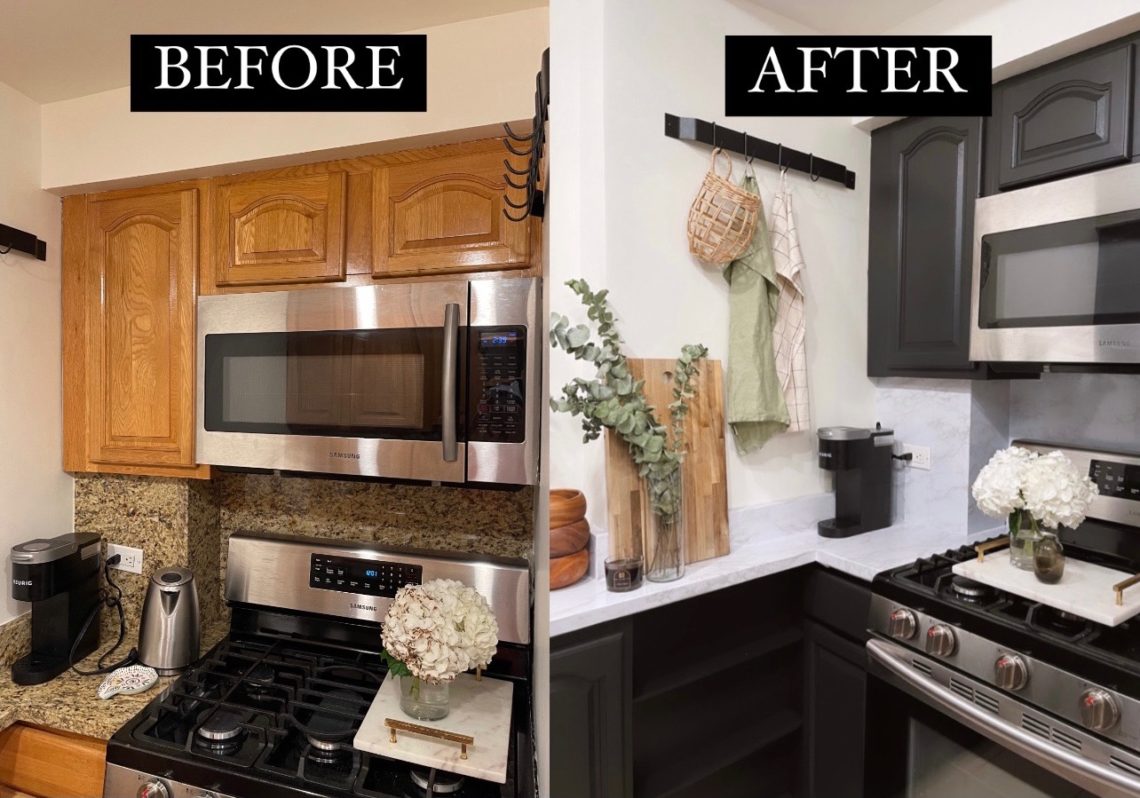
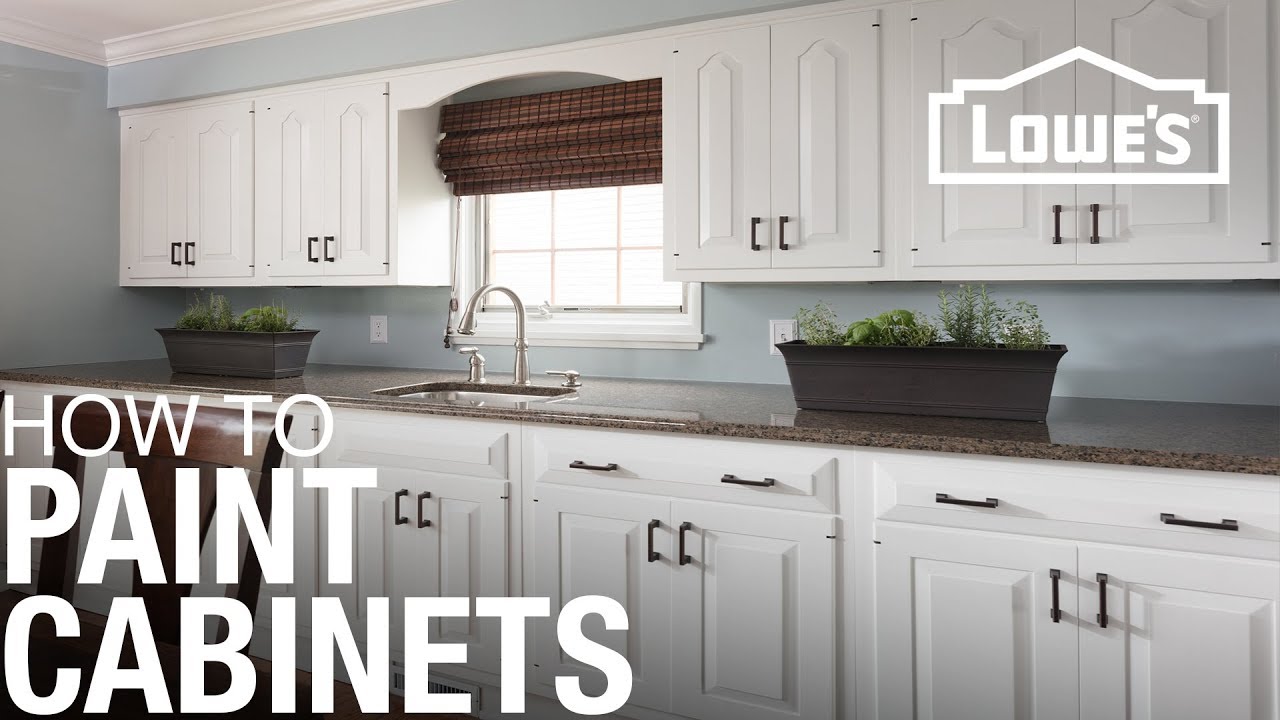
If you want a factory-like finish at home, you can get it with the right prep, tools, and patience. In this guide on how to paint kitchen cabinets, I share proven steps, pro tips, and real lessons from the field. Follow along to avoid common mistakes and get a finish that looks fresh and holds up to daily life.

Understand your cabinets and choose the right finish
The first step in how to paint kitchen cabinets is to know what you have. Solid wood, MDF, and wood veneer accept paint well. Laminate and thermofoil need a strong bonding primer to stick.
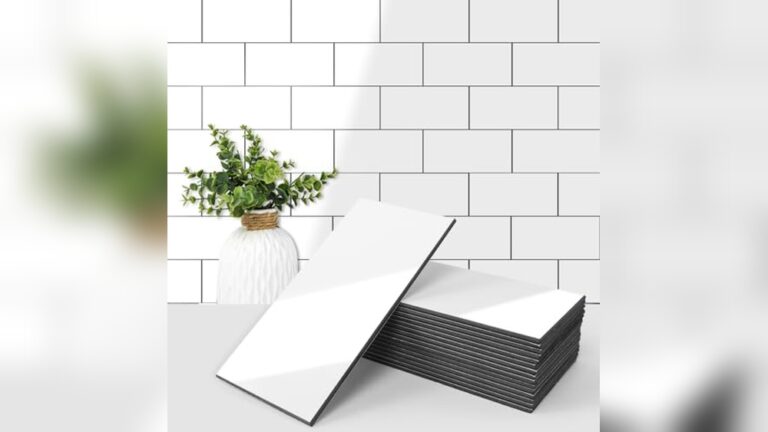
Pick a paint designed for cabinets and trim. Waterborne alkyd enamels and acrylic urethanes level well, cure hard, and resist yellowing. Satin or semi-gloss hides light wear and cleans fast.
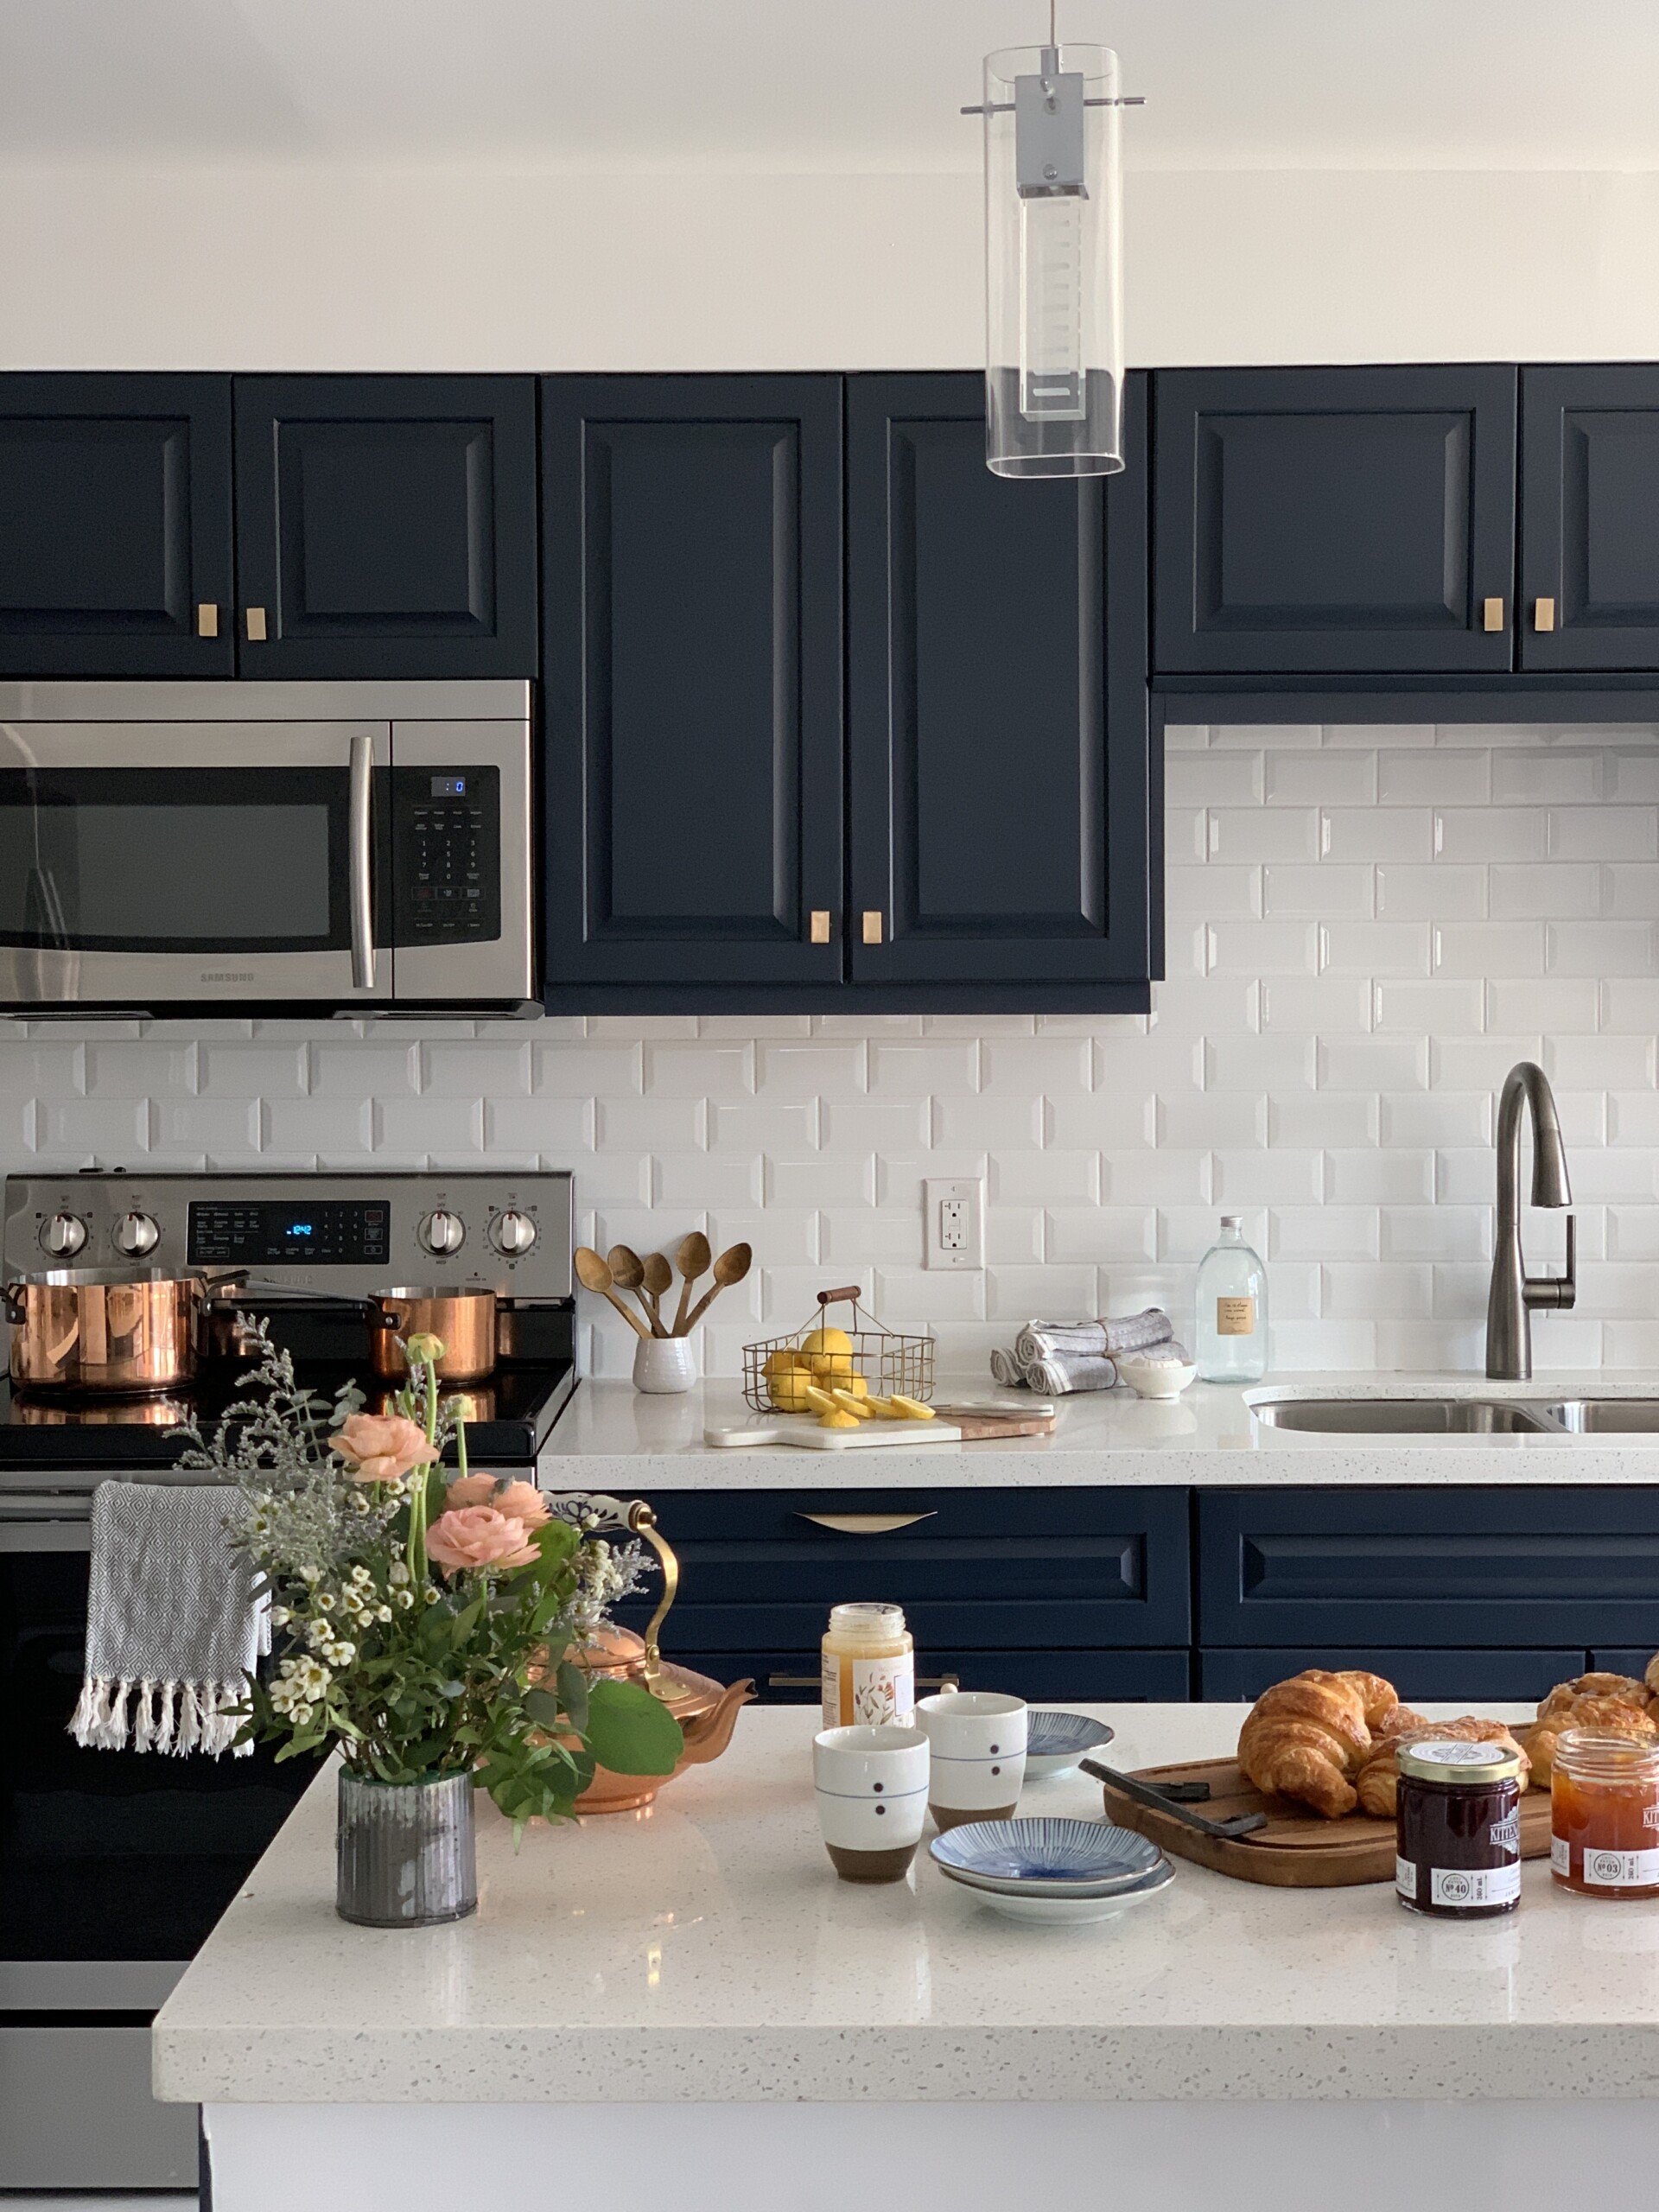
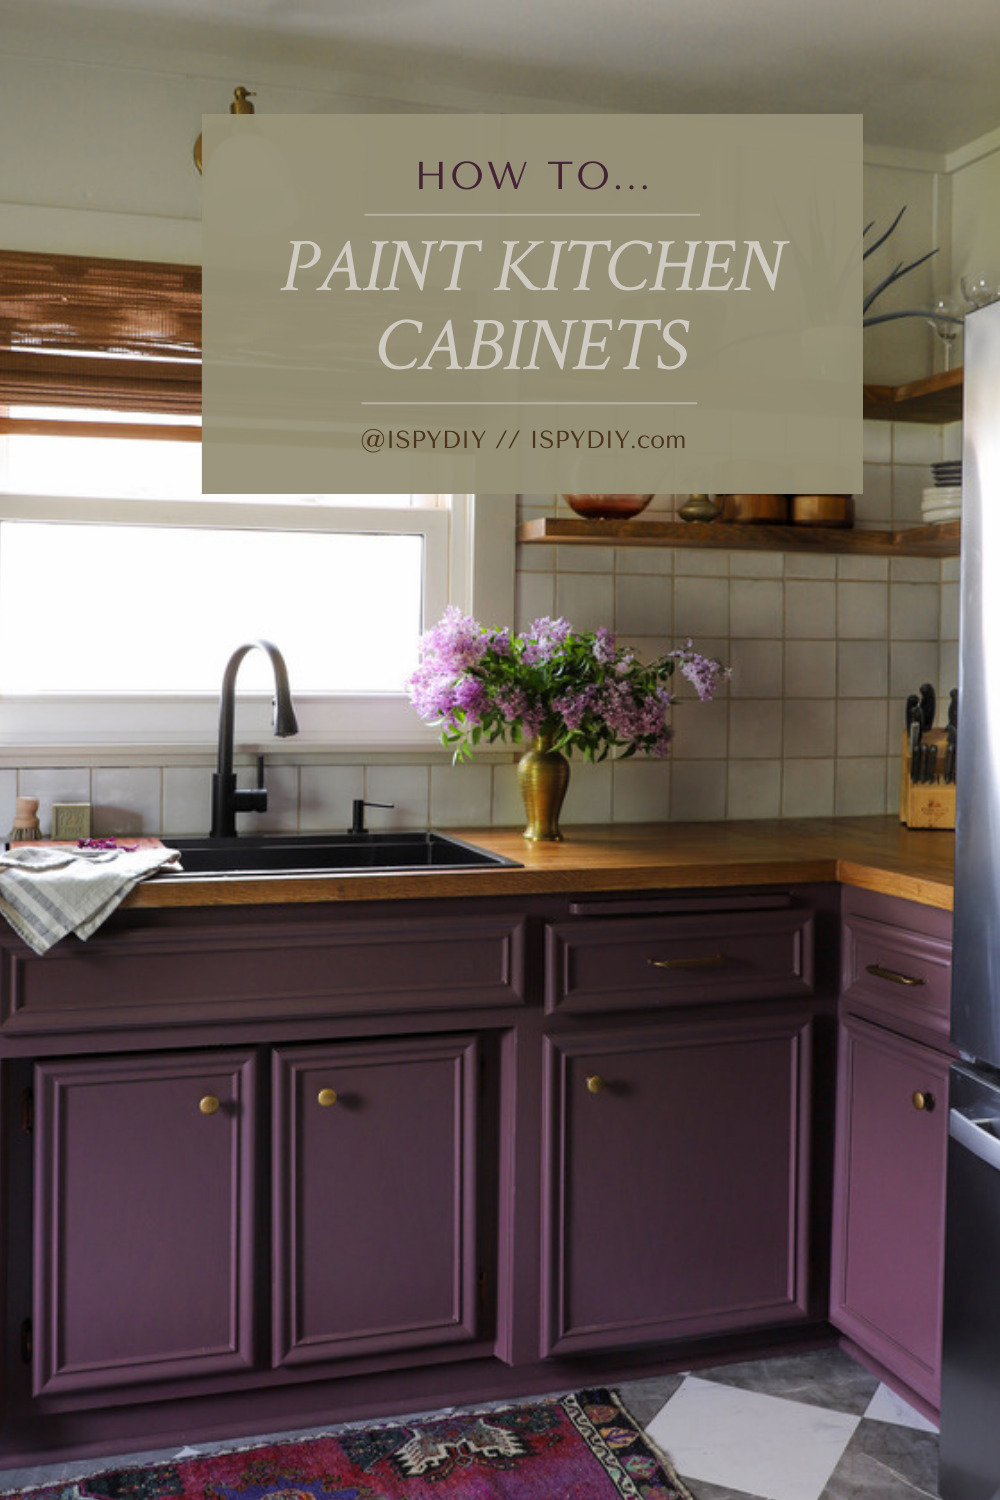
Color matters. Warm whites soften oak grain. Deep navy hides scuffs. Light grays balance bright and cozy. Test large swatches in daylight and under your kitchen lights.
Tools and materials you will need
Good tools make how to paint kitchen cabinets easier and faster. Gather everything before you start.
- Painter’s tape, masking paper, and plastic sheeting for full protection.
- Labels, a marker, and zip bags for hinges and screws.
- Degreaser or TSP substitute and clean rags.
- Liquid deglosser for glossy factory coats.
- Sandpaper: 120, 150, 180, 220, and 320 grits. A sanding block or 5-inch sander.
- Tack cloth or a vacuum with a brush head.
- Wood filler and a flexible caulk for small gaps.
- High-adhesion bonding primer and a stain-blocking primer. Shellac primer for knots.
- Waterborne enamel: acrylic alkyd or acrylic urethane in satin or semi-gloss.
- Quality angled brush, 4–6 inch microfiber or foam rollers, and trays.
- Painter’s pyramids or racks for drying.
- Optional HVLP sprayer if you want a near-factory look.
- Safety gear: NIOSH respirator, gloves, and eye protection.
Step-by-step prep that makes paint last
Prep is 70% of how to paint kitchen cabinets. Slow down here and you will save time later.
- Remove doors, drawers, and shelves. Label each piece and hinge position. Store hardware in bags.
- Deep clean all surfaces. Use a degreaser to cut oil and steam film. Rinse well and let dry.
- Scuff sand with 120–150 grit to dull the sheen. Wipe or vacuum the dust.
- Degloss glossy areas with liquid deglosser. Work in small sections.
- Fill dings and old handle holes. Sand smooth with 180–220 grit.
- Caulk tiny gaps at face frames and moldings. Do not caulk moving joints.
- Mask walls, floors, appliances, and inside boxes if you will not paint them.
- Set up a clean painting zone with airflow and racks for drying.
In my shop, I once rushed the clean step. A week later, the paint fisheyed near the stove. A strong degrease would have stopped that.
Sanding for a smooth base
Sanding is like ironing a shirt. It levels the fabric before you parade it.
- After filling, sand frames and doors with 180–220 grit for a flat, even feel.
- Feather edges where the old finish chips. Do not cut through veneer.
- Vacuum, then wipe with a damp microfiber cloth. Follow with a tack cloth.
- For heavy oak grain, a light coat of sanding sealer helps. Sand again to 220 grit.
Keep dust down. Close doors to other rooms and use a box fan with a filter in a window.
Prime for grip and stain control
Primer is the handshake between old finish and new paint. It is key in how to paint kitchen cabinets that last.
- Use bonding primer on varnish, laminate, or thermofoil. It boosts adhesion.
- Use shellac or a stain-blocking primer on oak, knots, or cherry to stop bleed-through.
- Roll thin, even coats. Tip off with a brush for a smooth lay.
- Let dry per the label. Sand lightly with 220–320 grit. Wipe clean.
- Apply a second coat if grain or stains still show.
Factory data shows waterborne primers dry fast but still need cure time. Give them the full window.

Paint application: brush, roll, or spray
You have three solid paths in how to paint kitchen cabinets. All can look great with good technique.
Brushing and rolling
- Use a fine microfiber or foam roller for flats. Use a 1.5–2 inch angled brush for edges.
- Add a small amount of extender per the label. It helps the paint level and reduce marks.
- Work in thin coats. Keep a wet edge. Do the backside of doors first, then the front.
- Lightly sand with 320 grit between coats for a glassy feel.
Spraying
- Sprayers give a near-factory look. Practice on scrap first.
- Strain paint. Set proper pressure. Spray light passes with 50% overlap.
- Vent well and wear a respirator. Mask far beyond the cabinet zone.
Two to three coats are common. Dark colors may need an extra coat. Let each coat dry to the touch, then to recoat, as the label says.
Drying, curing, and reassembly
Dry and cure are not the same. Dry is when it feels set. Cure is when it reaches full hardness.
- Air temps near 70°F and low humidity help the cure.
- Wait 12–24 hours before flipping or re-coating, unless the label says less.
- Full cure can take 7–30 days. Be gentle during this time.
- Add felt bumpers to doors. Reinstall hardware with care. Do not over-tighten.
- Align doors and drawer fronts. Adjust hinges for even gaps.
This patience step is the quiet hero in how to paint kitchen cabinets that resist chips.

Cost, time, and value
A full DIY job costs less than a new kitchen and still feels new.
- Materials often land between $200 and $600 for a mid-size kitchen.
- Plan 3–7 days of light work, plus cure time.
- A good paint job can boost home appeal and delay a full remodel.
I track client feedback. Most say the kitchen feels brighter, cleaner, and more open after paint.

Common mistakes to avoid
Avoid these pitfalls in how to paint kitchen cabinets.
- Skipping deep clean. Paint fails fast over grease.
- No bonding primer on slick or laminate faces.
- Heavy coats that sag and take longer to cure.
- Rushing reassembly before the enamel hardens.
- Poor masking that leads to dust and overspray.
When in doubt, thin coats win every time.
Troubleshooting and quick fixes
Things happen. Here is how to recover fast.
- Brush marks: Lightly sand with 320–400 grit. Recoat with extender.
- Orange peel: Sand smooth. Thin slightly within label limits. Switch to a finer roller.
- Tannin bleed: Spot prime with shellac. Repaint the area.
- Fisheyes: Clean with solvent or deglosser. Prime with a barrier coat. Repaint.
- Peeling: Scrape loose paint. Sand. Prime with a strong bonding primer. Recoat.
I have fixed each of these on real jobs. Patience and process beat panic.
Safety and ventilation best practices
Paint smart. Protect your health and home.
- Vent with a fan in a window that blows out. Open another window for fresh air.
- Wear a NIOSH respirator rated for paint fumes and particulates.
- Keep solvents and rags in a metal can with a tight lid.
- Follow local rules for disposal. Many areas have drop-off sites.
- Keep kids and pets away from the work zone until cured.
Manufacturer and safety data agree: airflow, PPE, and clean zones cut risk a lot.
Maintenance and care for painted cabinets
Care keeps the finish fresh year after year.
- Clean with mild soap and water. Avoid harsh pads and ammonia.
- Wipe spills fast, especially near the sink and coffee station.
- Add door bumpers and soft-close hardware to reduce impact.
- Keep a small jar of leftover paint for touch-ups.
This simple list extends the life of how to paint kitchen cabinets by years.
Frequently Asked Questions of how to paint kitchen cabinets
How long does it take to paint kitchen cabinets?
Most DIY projects take 3–7 days of active work plus cure time. Plan for two weekends if you have a large kitchen.
What is the best paint for kitchen cabinets?
Use a waterborne alkyd enamel or acrylic urethane in satin or semi-gloss. These level well, cure hard, and clean easily.
Do I need to sand before painting cabinets?
Yes, at least a scuff sand is vital for adhesion. It removes gloss and gives the primer a better grip.
Can I paint laminate or thermofoil cabinets?
Yes, but you must use a strong bonding primer. Test adhesion on a small spot before you commit.
How many coats of paint should I apply?
Two to three thin coats work best. Sand lightly between coats for a smooth, even finish.
How do I stop wood tannins from bleeding through paint?
Prime with a shellac or stain-blocking primer first. Spot prime any trouble areas and allow full dry time.
Conclusion
You now know how to paint kitchen cabinets with pro-level results. The path is simple: deep clean, smart sanding, the right primer, thin coats, and patience during cure. Small, careful steps make a big, lasting change.
If you are ready, pick one bank of cabinets and start the prep today. Share your progress, ask questions, and subscribe for more step-by-step guides and tool reviews tailored for real homes.